Having issues with your printer? Type the model name below to get started.

Business-to-business service agreements are available for organizations seeking ongoing print and workplace IT support.

Printer

Printer setup, made simpler

Get your printer ready to work

Use this quick checklist to prepare a new or newly reconnected printer. Exact menus and driver names vary by model, so keep your printer’s manual handy.

  1. 01

    Unpack and place

    Remove the printer and accessories from the box. Take off every orange or colored shipping clip, tape strip, and protective foam piece, including anything inside the paper tray or ink access area. Keep the printer upright and place it near a power outlet, within range of your Wi-Fi router if you plan to connect wirelessly. Leave space behind and around it for ventilation, opening covers, and loading paper.

  2. 02

    Power on and load supplies

    Connect the supplied power cable directly to a wall outlet, turn the printer on, and follow its screen prompts to choose language and region. Install only the cartridge or ink bottles listed for the exact model. Avoid touching cartridge contacts or printhead nozzles; remove seals as directed by the manual. Load clean, dry paper in the tray, adjust the guides so they touch the edges without bending the sheets, then confirm the paper size on the printer if asked.

  3. 03

    Connect to your network or computer

    Wi-Fi: Open Wireless or Network Setup on the printer, choose your network name (SSID), and enter its password carefully. Many printers require a 2.4 GHz network; check the model’s guide if your network does not appear. WPS is an option only when both router and printer support it.
    Ethernet: Connect a network cable from the printer to your router or office switch, then allow a moment for it to join the network.
    USB: Connect directly to one computer with a data-capable USB cable, following the software’s prompt on when to plug it in.

  4. 04

    Install the right software

    Find the full model name and number on the printer label or front panel. Download the setup app or driver for that exact model and your computer’s operating system from the printer maker’s official support site, or use your operating system’s printer setup screen. Follow the installer, choose the connection method you used, and select the printer when it appears. Avoid similarly named models and third-party driver download sites.

  5. 05

    Check settings and print a test

    Set the printer as the default if you want your computer to use it automatically. Confirm paper size and orientation in the print dialog, then print a test page or a simple one-page document. For an all-in-one printer, try a scan from the printer app as well. If colors are missing or text is faint, use the printer’s built-in nozzle check or cleaning routine before repeating the test.

Wireless connection

Connect your printer to Wi‑Fi

  1. Place the printer within a reasonable range of the router and turn it on. Have the Wi‑Fi name and password ready.
  2. On the printer screen, open Setup, Network, or Wireless LAN. Menu names vary by model.
  3. Choose Wireless Setup Wizard or Wi‑Fi Setup, select your network name, and enter its password. Passwords are case sensitive.
  4. Wait for the printer to show Connected or for its Wi‑Fi indicator to become steady. If asked, allow the setup app on your computer or phone to find the printer on the same network.
  5. Install the model-specific driver/app and add the discovered printer. Print a test page to confirm the connection.

If the network is missing: Check the printer’s supported Wi‑Fi bands in its manual; some models only join 2.4 GHz networks. Re-enter the password and restart the printer and router if needed.
Wi-Fi printer connection diagram A wireless router connects over Wi-Fi to a printer and a computer on the same network. Wi-Fi router Printer SAME WI-FI NETWORK
Router and printer join the same wireless network; your computer or phone must use it too.

Direct connection

Connect your printer with USB

  1. Check the printer’s manual for the USB port type and cable required. Many printers use a square USB‑B port, while newer models may use USB‑C.
  2. Download and start the official setup software for the exact printer model and your computer’s operating system.
  3. When the installer asks for a connection type, choose USB. Connect the cable directly from the printer to the computer when prompted.
  4. Turn on the printer if it is not already on, then let the installer finish detecting it and installing the driver.
  5. Open your computer’s printer settings, confirm the printer is listed and ready, then print a test page.

If it is not detected: Reseat both ends, try another computer USB port, and avoid an unpowered hub. Restart the printer and installer before trying another data-capable cable.

USB printer connection diagram A USB cable connects a computer directly to the printer. Computer Printer DIRECT USB CABLE
For initial setup, connect directly to the computer and plug in the cable when the installer requests it.
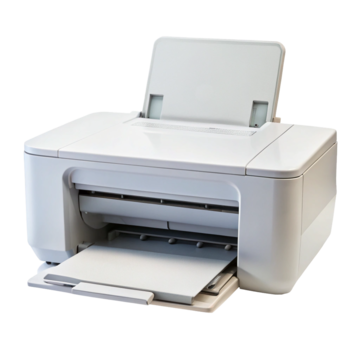
Compact white home printer
Compact desktop printer
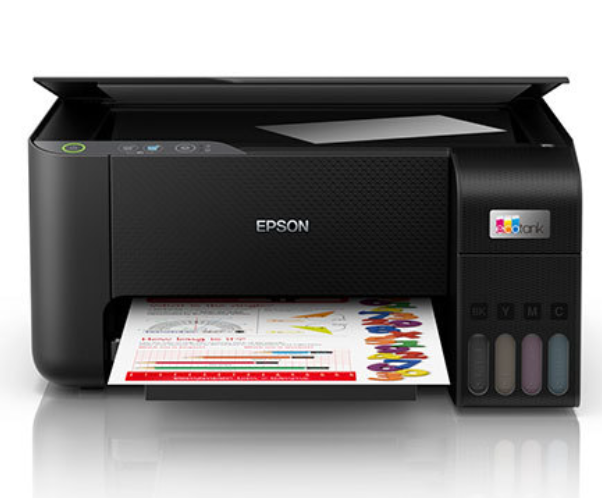
Multifunction ink tank printer

Business Technology Services

Structured support programs designed for offices, branch networks, and multi-location organizations.

Managed Print Services

Centralized oversight of corporate print fleets, including deployment planning, usage monitoring, supply logistics, and lifecycle replacement for office environments.

Office Device Management

Configuration and administration of networked printers, multifunction devices, and related peripherals across business workspaces and departmental floors.

Corporate IT Support

Ongoing technical assistance for business systems, user onboarding for office hardware, and coordinated response for workplace technology issues.

Print Infrastructure Consulting

Assessments and recommendations for secure, cost-efficient print architecture aligned with organizational policy and compliance requirements.

View full service details

Business IT Contracts for Offices and Organizations

Set Print Copy IT Solutions serves businesses that require predictable service levels, documented workflows, and accountable vendor relationships. We provide managed print and corporate IT services through agreements scoped to each organization.

  • B2B service agreements tailored to business operations
  • Dedicated account coordination for corporate clients
  • Fleet reporting and operational visibility
  • Secure configuration aligned with IT policy

Business Service Agreements

Choose a service scope for your organization. Coverage and pricing are confirmed in a written agreement.

Office Print Care

Printer and multifunction device maintenance, fleet coordination, and planned support for a single office.

Managed Print Fleet

Ongoing oversight, usage reporting, supply coordination, and lifecycle planning for business print fleets.

Corporate IT Support

Contracted workplace IT and office network support, scoped around your staff, systems, and service window.

Request a Quote for Corporate IT Management

Tell us about your organization and print or IT environment. A business solutions specialist will follow up to discuss scope, timelines, and service options.

By submitting, you agree to our Privacy Policy and Terms of Service.